Taking the Second Step for Full Stack Web Development: Starting CSS


Table of contents
PermalinkPart 1 - Introduction
I started my journey into full-stack web development by diving headfirst into the foundational language of HTML. It provided me by served as the building blocks for my web pages with the necessary tools to structure and present my content effectively. Now, it's time to leap forward and use Cascading Style Sheets, better known as CSS to design and transform my web pages into engaging and polished experiences with Angela Yu's full-stack web development course.
PermalinkPart 2 - Getting Started With CSS
Permalink2.1) So what exactly is CSS?
In Cascading Style Sheets Cascading refers to the way styles are applied and resolved in CSS. When multiple styles are defined for the same HTML element, CSS determines which style to apply based on a set of rules called the "cascading order". It is like a waterfall.
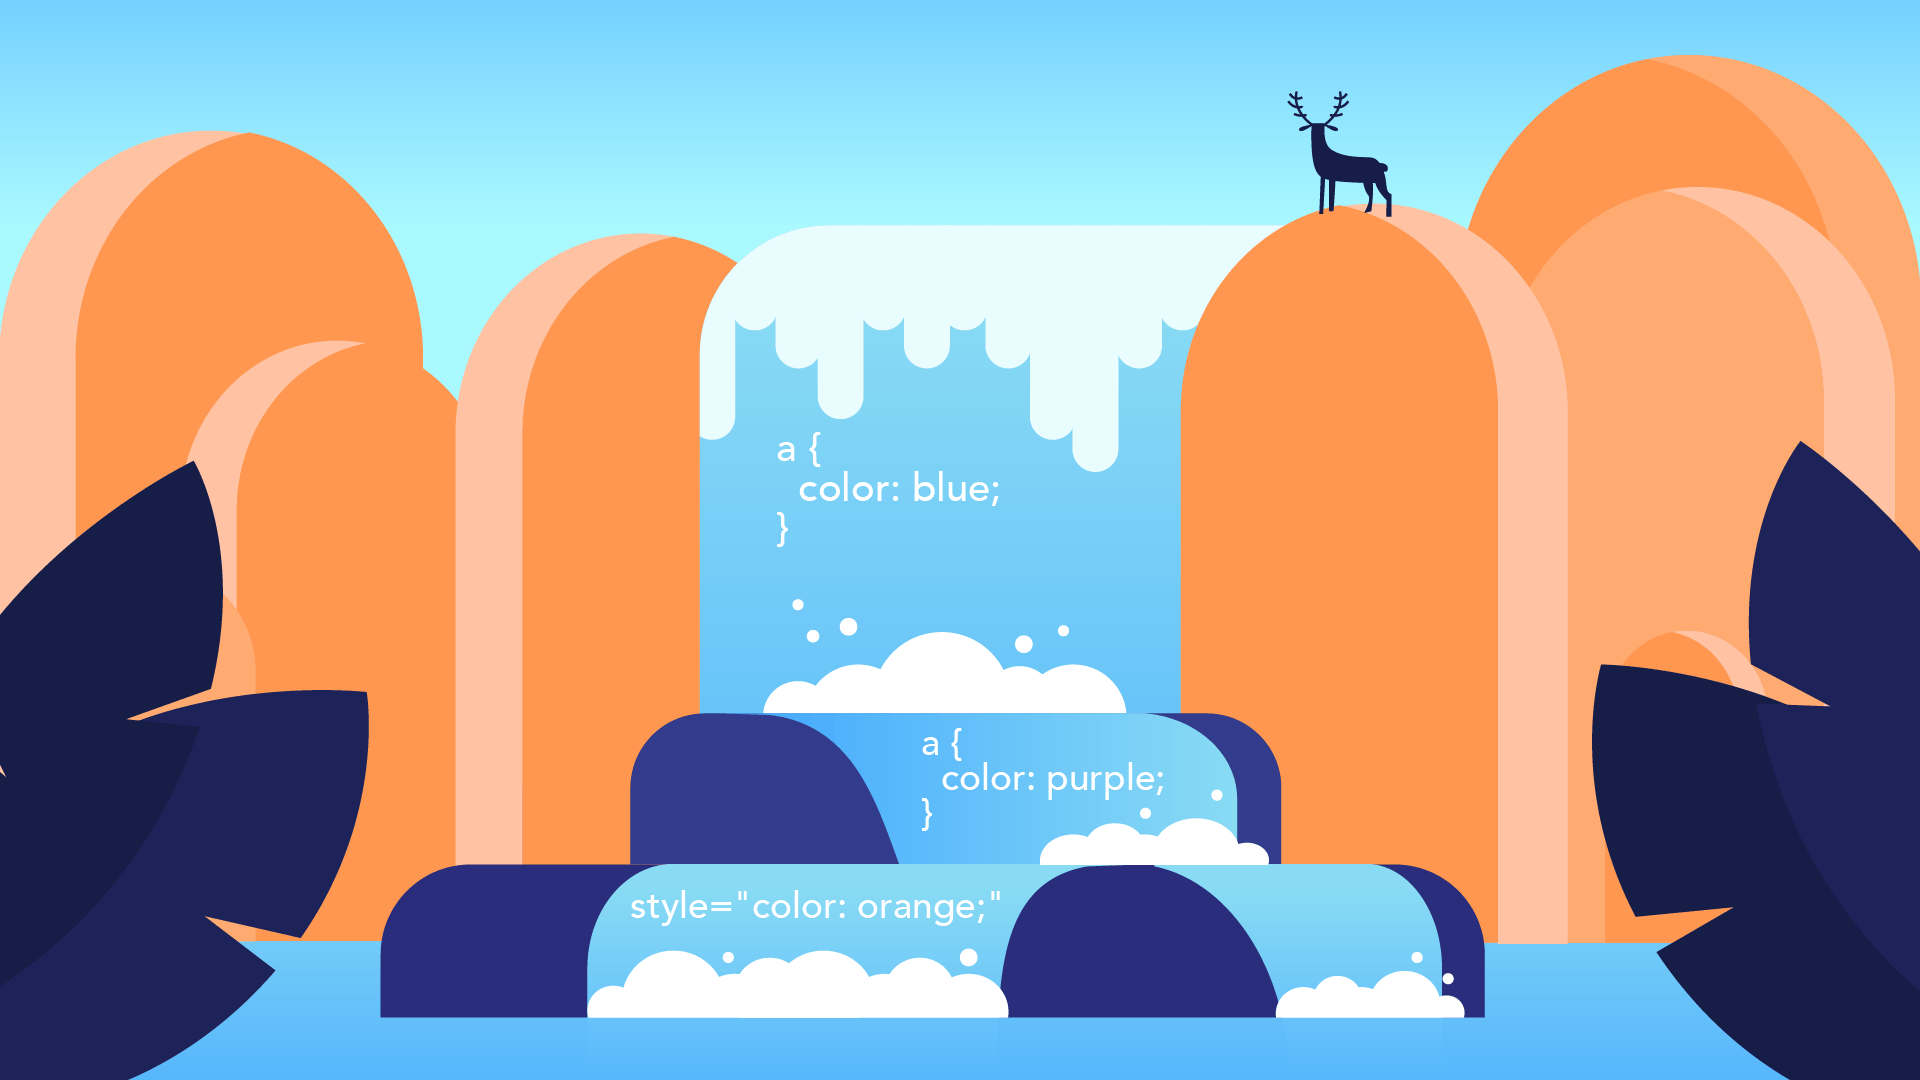
Style Sheets refer to the sheets or documents that contain CSS rules defining the visual presentation of HTML elements. These rules consist of selectors and declarations. Selectors target specific HTML elements or groups of elements, while declarations specify the styles to be applied.
Permalink2.2) How to Create and Add CSS in HT
There are three ways of adding CSS to an HTML website.
Inline, internal and external.
Inline
<tag style="css" />
<!DOCTYPE >
<html lang="en">
<head>
<meta charset="UTF-8">
<title>Inline</title>
</head>
<body>
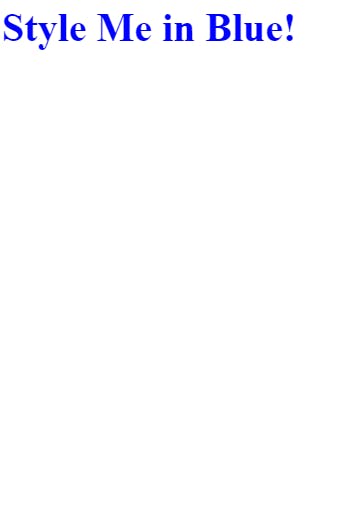
<h1 style="color: blue;">Style Me in Blue!</h1>
</body>
</html>
In this HTML code, CSS is added in by inline way to change the color of the h1 tag. In this way, CSS is added inside the selected tag.
Internal
<style>css</style>
<!DOCTYPE html>
<html lang="en">

<head>
  <meta charset="UTF-8">
  <title>Internal</title>
  <style>
    h1{
      color: red;
    }
  </style>
</head>

<body>
<h1>Style Me in Red!</h1>
</body>

</html>
In this code, CSS is added in by internal way to change the color of the h1 tag. In this way, CSS is added inside the head tag of HTML by using a style tag.

External
<link href="style.css"/>
<!DOCTYPE html>
<html lang="en">
<head>
  <meta charset="UTF-8">
  <title>External</title>
  <link rel="stylesheet" href="./style.css" />
</head>
<body>
  <h1>Style Me in Green</h1>
</body>
</html>
h1{
    color: green;
}
In this HTML code, CSS is added in by external way to change the color of the h1 tag. In this way, CSS is added by creating a link between closing title and head tag. The link has the location of the CSS file which is created by extending a file with css.

Permalink2.3) CSS Selectors
CSS selectors are patterns used to select and target specific HTML elements on a webpage for styling or manipulation. They allow you to apply styles selectively to certain elements based on their tag name, class, ID, attributes, or their relationship to other elements. Here are some commonly used CSS selectors:
a) Element Selector: If your selector is an HTML element, like p, it's not very specific. It applies broadly to every <p> element on the page.
/* Element Selector */
    p {
      color: blue;
    }
b) Class Selector: Targets elements with a specific class attribute. It is denoted by a dot followed by the class name. For example, the selector .highlight targets all elements with the class "highlight": <div class="highlight">...</div>.
/* Class Selector */
    .highlight {
      background-color: yellow;
    }
c) ID Selector: Targets a specific element with a unique ID attribute. It is denoted by a hash (#) followed by the ID name. For example, the selector #logo targets the element with the ID "logo": <img id="logo" src="logo.png">.
/* ID Selector */
    #logo {
      width: 200px;
    }
d) Attribute Selector: Targets elements based on specific attribute values. For example, the selector [type="submit"] targets all elements with the attribute type set to "submit".
/* Attribute Selector */
    [type="submit"] {
      border: 1px solid black;
    }
e) Pseudo-classes and Pseudo-elements: Pseudo-classes target specific states or positions of elements. For example, :hover targets an element when it is being hovered over by the mouse. Pseudo-elements target specific parts of an element, such as the first letter or line. For example, ::first-line targets the first line of a paragraph.
/* Pseudo-class */
    a:hover {
      color: red;
    }
/* Pseudo-element */
    p::first-line {
      font-weight: bold;
    }
Permalink2.4) Project
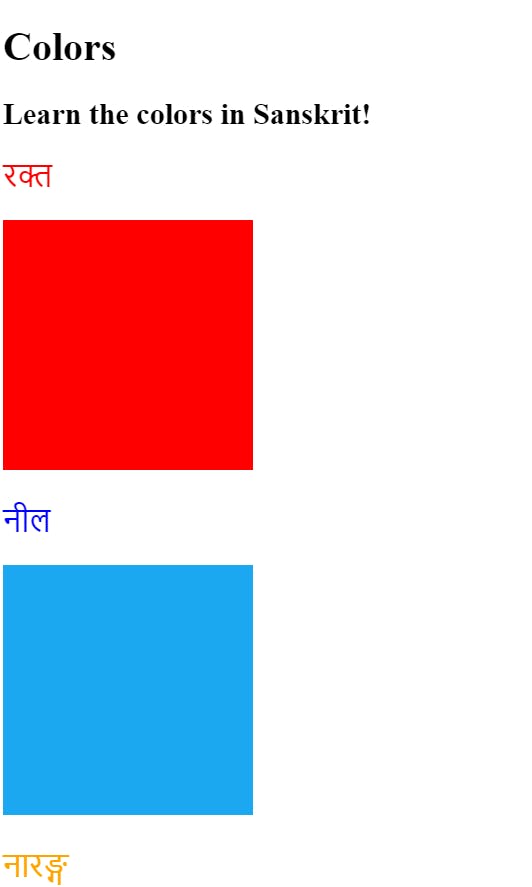
Creating a Colour Vocab Website
Now the motive of this project is not to create a design but to use CSS with HTML.
link> https://19kushagra.github.io/html-portfolio/public/5_Color%20Vocab%20Project/index.html
<!DOCTYPE html>
<html lang="en">

<head>
  <meta charset="UTF-8">
  <title>Spanish Vocabulary</title>
  <link rel="stylesheet" href="./style.css" />
</head>

<body>
  <h1>Colors</h1>
  <h2>Learn the colors in Sanskrit!</h2>
  <h2 class="color-title" id="red">रक्त</h2>
  <img class="color" src="./assets/images/red.png" alt="red" />

  <h2 class="color-title" id="blue">नील</h2>
  <img src="./assets/images/blue.png" alt="blue" />

  <h2 class="color-title" id="orange">नारङ्ग</h2>
  <img src="./assets/images/orange.png" alt="orange" />

  <h2 class="color-title" id="green">हरित</h2>
  <img src="./assets/images/green.png" alt="green" />

  <h2 class="color-title" id="yellow">पीतं</h2>
  <img src="./assets/images/yellow.png" alt="yellow" />
</body>

</html>
.color-title{
    font-weight: normal;
}
#red{
    color: red;
}
#blue{
    color: blue;
}
#orange{
    color: orange;
}
#green{
    color: green;
}
#yellow{
    color: yellow;
}
img{
    width: 200px;
    height: 200PX;
}
PermalinkPart 3 - More properties of CSS
CSS (Cascading Style Sheets) is a styling language used to describe the appearance and formatting of HTML and XML documents. CSS properties are used to define various aspects of how elements on a webpage should be styled. Here are some commonly used CSS properties:
Permalink3.1) CSS color properties
CSS (Cascading Style Sheets) provides a variety of color properties to define and control colors in web design.
<!DOCTYPE html>
<html lang="en">

<head>
  <meta charset="UTF-8">
  <title>Colors</title>
  <style>
    *{
      background-color: antiquewhite;
    }
    h1{
      color:  whitesmoke;
      background-color: darkseagreen;
    }
    h2{
      color: #FAF8F1;
      background-color: #C58940;
    }
  </style>
</head>

<body>
  <h1>Hello</h1>
  <h2>World</h2>
</body>

</html>
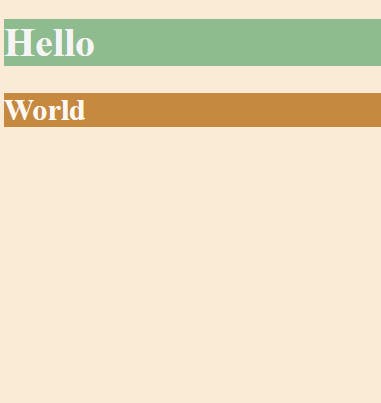
In this code CSS color properties are used on the h1 tag.
Permalink3.2) Font properties
CSS font properties are used to control the appearance of text on a webpage, including the size, style, weight, and family of the font. Here is a breakdown of the different CSS font properties:
a) font-size
Font-size: This property is used to set or tweak the size of the font. It can have several values.
Pixel
p {
  font-size: 16px;
}
One pixel is about 1/96 of an inch or It's 0.26mm wide and 0.26mm tall cube.
Point
p {
  font-size: 16pt;
}
it's slightly bigger than a pixel. when we select a 12-size font in word press, we are selecting 12 points. So that means when we are using 12 points on our web page, we can expect that it's the same size.
EM
p {
  font-size: 16em;
}
It is Relative to the font size of its direct or nearest parent element.
Rem
p {
  font-size: 16rem;
}
It is relative to the font size of the root element (usually the <html> element)
b) font-weight
The font-weight CSS property is used to set the weight or boldness of the font.
p {
  font-weight: 600;
}
c) font-family
The CSS font-family property is used to specify the font family for an element.
</style>
  <link rel="preconnect" href="https://fonts.googleapis.com">
  <link rel="preconnect" href="https://fonts.gstatic.com" crossorigin>
  <link href="https://fonts.googleapis.com/css2?family=Caveat&display=swap" rel="stylesheet">
</head>
The font family link is written between the closing style and head tag, then the font can be used.
#family{
      font-family: 'Caveat', cursive;
    }
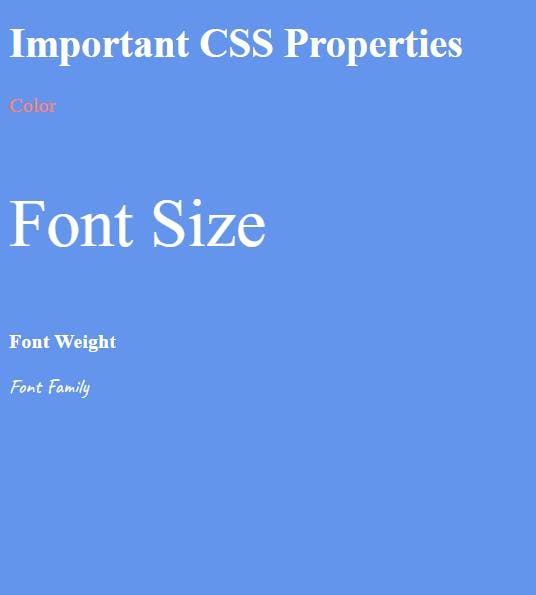
Using the above font properties
<!DOCTYPE html>
<html lang="en">

<head>
  <meta charset="UTF-8">
  <title>CSS Properties</title>
  <style>
    body {
      background-color: cornflowerblue;
      color: white;
      font-size: 18px;
    }

    /* Don't change the CSS above, add Your CSS below */
    #color{
      color: coral;
    }
    #size{
      font-size: 2rem;
    }
    #weight{
      font-weight: 900;
    }
    #family{
      font-family: 'Caveat', cursive;
    }
    #align{
      text-align: right;
    }
    html{
      font-size: 30px;
    }

  </style>
  <link rel="preconnect" href="https://fonts.googleapis.com">
  <link rel="preconnect" href="https://fonts.gstatic.com" crossorigin>
  <link href="https://fonts.googleapis.com/css2?family=Caveat&display=swap" rel="stylesheet">
</head>

<body>
  <h1>Important CSS Properties</h1>
  <p id="color">Color</p>
  <p id="size">Font Size</p>
  <p id="weight">Font Weight</p>
  <p id="family">Font Family</p>
  <p id="align">Text Align</p>
Permalink3.3) CSS box model
The CSS box model is a fundamental concept in web design that describes how elements are rendered on a web page. It consists of four main components: content, padding, border, and margin.
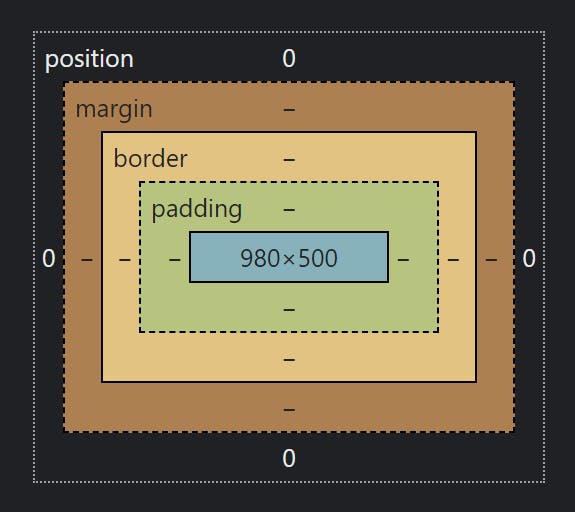
Content: The content area is where the actual content of an element, such as text or an image, is displayed. It has dimensions defined by the width and height properties.
Padding: The padding area surrounds the content area and provides space between the content and the element's border. The padding is transparent and does not have a background color or border. It can be adjusted using the padding property.
Border: The border area surrounds the padding and content areas. It is a visible line that separates the element from its surrounding elements. Borders have properties such as color, style, and width that can be customized.
Margin: The margin area is the space outside the border and separates the element from other elements on the page. It creates a gap between elements. Margins can be adjusted using the margin property.
.box {
  width: 200px;
  height: 100px;
  padding: 20px;
  border: 1px solid black;
  margin: 10px;
}
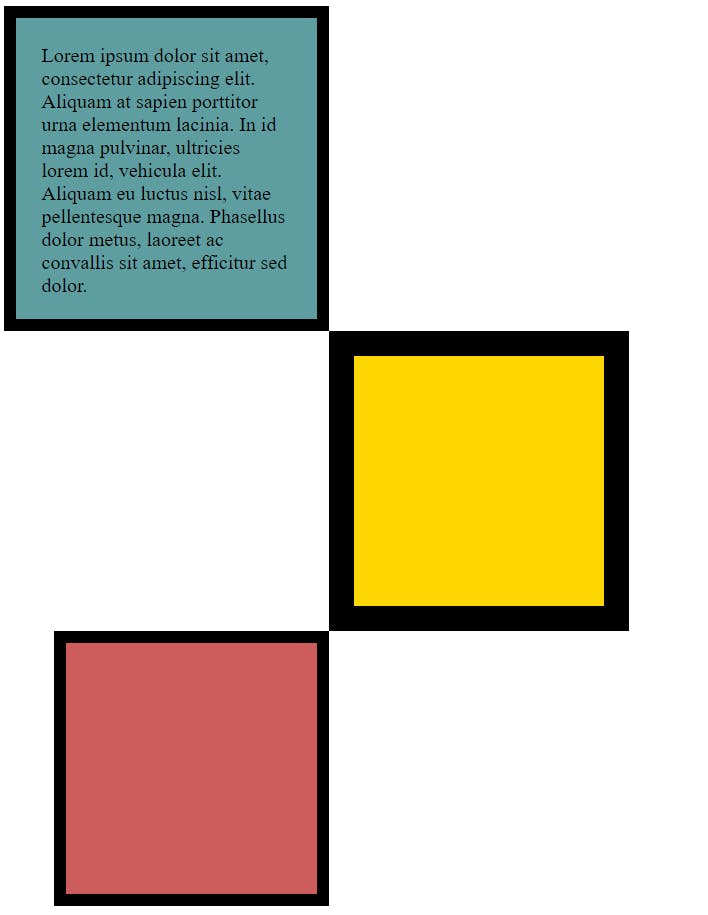
Using CSS box model to make design
<!DOCTYPE html>
<html lang="en">

<head>
  <meta charset="UTF-8">
  <title>CSS Box Model</title>
  <style>
    #box1{
      height: 200px;
      width: 200px;
      background-color: cadetblue;
      padding:  20px 20px 20px 20px;
      border: 10px solid black;
    }
    #box2{
      height: 200px;
      width: 200px;
      background-color: gold;
      border: solid black;
      border-width: 20px 20px;
      margin-left: 260px;
    }
    #box3{
      height: 200px;
      width: 200px;
      background-color: indianred;
      border: 10px solid black;
      margin-left: 40px;
    }
    p{
      margin: 0%;
    }
  </style>
</head>

<body>
<div id="box1">
  <p>
    Lorem ipsum dolor sit amet, consectetur adipiscing elit. Aliquam at sapien porttitor urna elementum lacinia. In
    id magna pulvinar, ultricies lorem id, vehicula elit. Aliquam eu luctus nisl, vitae pellentesque magna. Phasellus
    dolor metus, laoreet ac convallis sit amet, efficitur sed dolor.
  </p>
</div>
<div id="box2"></div>
<div id="box3"></div>
</body>

</html>
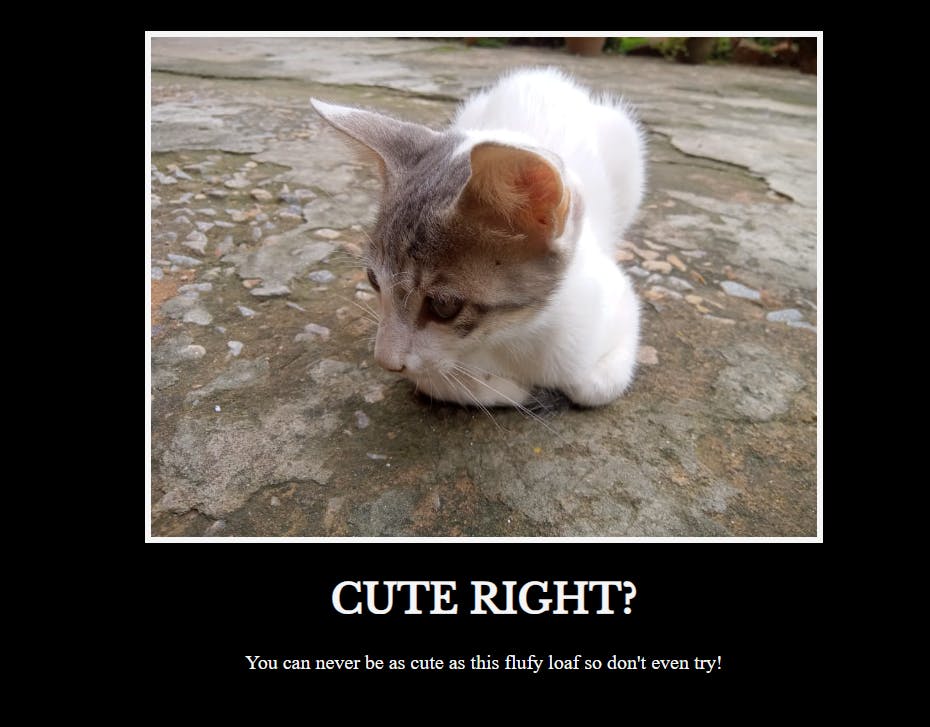
Permalink3.4) Project
Creating a project using the above CSS properties to make a meme
Link> https://19kushagra.github.io/html-portfolio/public/6_Motivation%20Meme%20Project/index.html
<!DOCTYPE html>
<html lang="en">
<head>
  <meta charset="UTF-8">
  <meta name="viewport" content="width=device-width, initial-scale=1.0">
  <title>Funny quote</title>
  <link rel="stylesheet" href="./style.css">
  <link rel="preconnect" href="https://fonts.googleapis.com">
<link rel="preconnect" href="https://fonts.gstatic.com" crossorigin>
<link href="https://fonts.googleapis.com/css2?family=Libre+Baskerville&display=swap" rel="stylesheet">
</head>
<body>
    <div>
      <img src="./assets/images/cat.jpeg" alt="cat">
      <h1>Cute right?</h1>
      <p>You can never be as cute as this flufy loaf so don't even try!</p>
    </div>
</body>
</html>
*{
    background-color: black;
    color: whitesmoke;
}
img{
    height: 400px;
    border: 5px solid whitesmoke;

}
div{
    text-align: center;
    margin-top: 50px;
}
h1{
    font-family: 'Libre Baskerville', serif;
    text-transform: uppercase;
}
PermalinkPart 4 - Conclusion and next part
Throughout my dive into the world of full-stack web development, I've learned about the importance of HTML and CSS in structuring and designing web pages. HTML serves as the basic framework of a webpage, and CSS adds styling and layout to make the webpage visually appealing and functional. But one blog is not enough to write all about CSS so I will continue my CSS journey through my next blog.